
Have you tried making homemade breadcrumbs yet? Give it a try now. It’s so quick and simple to prepare from scratch — you’ll wonder why you have not done so earlier!

I started making homemade breadcrumbs when I saw my mother-in-law doing it.
As she always says, it’s one of those things that’s not worth buying because it’s so easy to make your own.
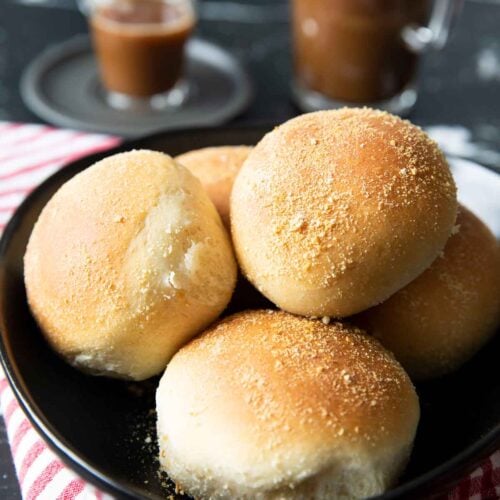
NOT SURE WHAT TYPE OF BREAD TO USE? GIVE THESE HOMEMADE BREAD RECIPES A TRY!

Ingredient

What type of bread is best for making homemade breadcrumbs?
Any old bread — that is all you need.
Crusty loaves, slices of white loaves, brioche, or some sourdough — you can use almost any type.
The critical thing is that it should be at least a day old. The drier it is, the better for making homemade breadcrumbs.

Preparation
Start your homemade breadcrumbs by preheating your oven to 180°C (350°F).
Using your hands, break the bread into chunks and place them in a food processor or stand blender (photo 1).

Do this in batches when the food processor gets too full (photo 2).
Process until you get your preferred texture for the crumbs.
Transfer them to a baking tray (photo 3).

Use your hands to distribute them evenly on the tray (photo 4).
Place the tray in the oven until they are completely dry or their color has slightly darkened.
Set aside your homemade breadcrumbs to cool and store properly.

Helpful tips
- If the bread is already dry, you can skip placing them in the oven. Just leave them out for a longer period and then store them properly.
- Feel free to add your favorite seasoning to these homemade breadcrumbs, depending on what your dish calls for.
Adding different types of dried herbs is an option, plus salt and pepper.
- When you store these DIY breadcrumbs in the freezer, write the date on the bag to help you remember.

How do you make homemade breadcrumbs without a food processor?
Place the chunks of bread in a Ziplock bag and start pounding or pressing with your rolling pin.
If you have a meat tenderizer, you can start with that and use the rolling pin afterward.
Either way, having a food processor or a blender is not necessary.

Storage
I usually keep some of mine in a tight container for about three weeks in a cool place.
For the rest, I put them in a sealed bag and placed them in the freezer for about three months.
However, let me highlight that the length of time you can keep breadcrumbs out of the refrigerator depends on how warm your place (or your part of the world) is.
Stockholm, where I reside, is definitely NOT a warm place.
Recipes to try for your DIY breadcrumbs


These two antipasti (Italian appetizers) use breadcrumbs to control the amount of liquid in them.
Adding breadcrumbs to the mixture helps absorb any excess moisture without toning down the flavor of the other ingredients — like eggplants or pecorino Romano.
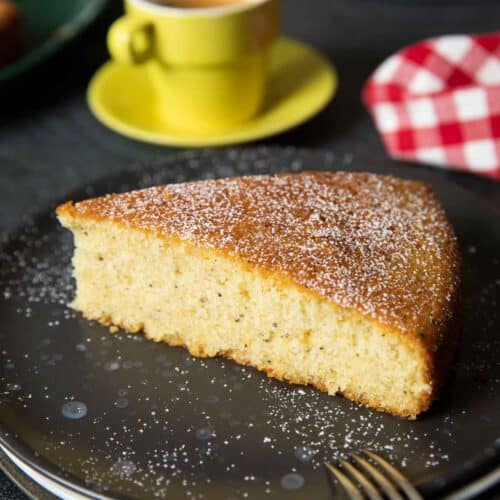

Oh! If you like baking cakes, you can also use breadcrumbs to prepare your cake pan. After greasing it with butter, dust it with breadcrumbs instead of flour.
You don’t believe me? Try it with this well-loved Swedish fika treat — cardamom cake and see for yourself. 🙂
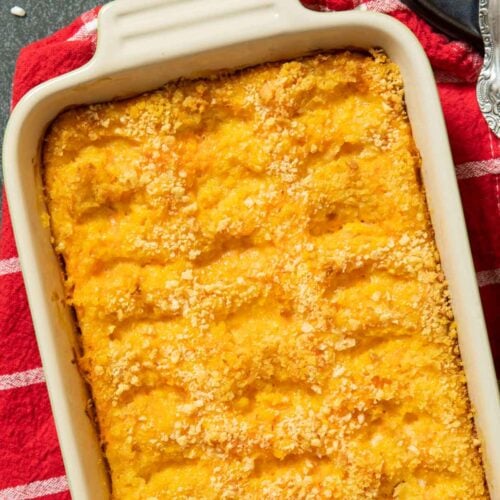

As you can see, it’s quite common for other Nordic countries to use breadcrumbs in cooking as well.
Carrot casserole is a classic Finnish recipe that you will find in every household during the holidays — and it’s topped with breadcrumbs that give it some extra crunchy bite and a golden color.
To make some traditional Danish meatballs, you must get some breadcrumbs ready.
Same with the antipasti, you need to add it to the frikadeller mixture to get them to keep their shape before and after cooking.
So, what are you waiting for? Start planning for DIY breadcrumbs now! 🙂
LOOKING FOR MORE HOW-TO-IDEAS? THEN YOU WILL LIKE THESE POSTS!


📖 Recipe

Homemade Breadcrumbs
Equipment
- Ziploc Bags
Ingredients
- 10 to 12 slices bread
Instructions
- Preheat your oven to 180°C (350°F).
- Break the bread into chunks and place in a food processor or blender.
- Process until you have reached your preferred level of texture for the crumbs.
- Transfer into a baking tray lined with a baking sheet.
- Spread the crumbs evenly.
- Place the baking tray in the lower part of the oven until the breadcrumbs are completely dry.
- Shake or mix the crumbs with a spatula and place it back in the oven to dry the whole tray evenly.
- Set your homemade breadcrumbs aside to cool.
- Store properly.
Notes
- Cook’s Tip #1: You can skip placing the crumbs in the oven if they are already dry — say, the bread is older than two days. Leave them out for a longer period and then store them properly.
- Cook’s Tip #2: Add your favorite seasoning to these homemade breadcrumbs, depending on what your dish calls for. I typically add a variety of dried herbs, plus salt and pepper.
- Cook’s Tip #3: If you decide to store them in the freezer, write the date on the bag to help you track how old it is.


Leave a Reply